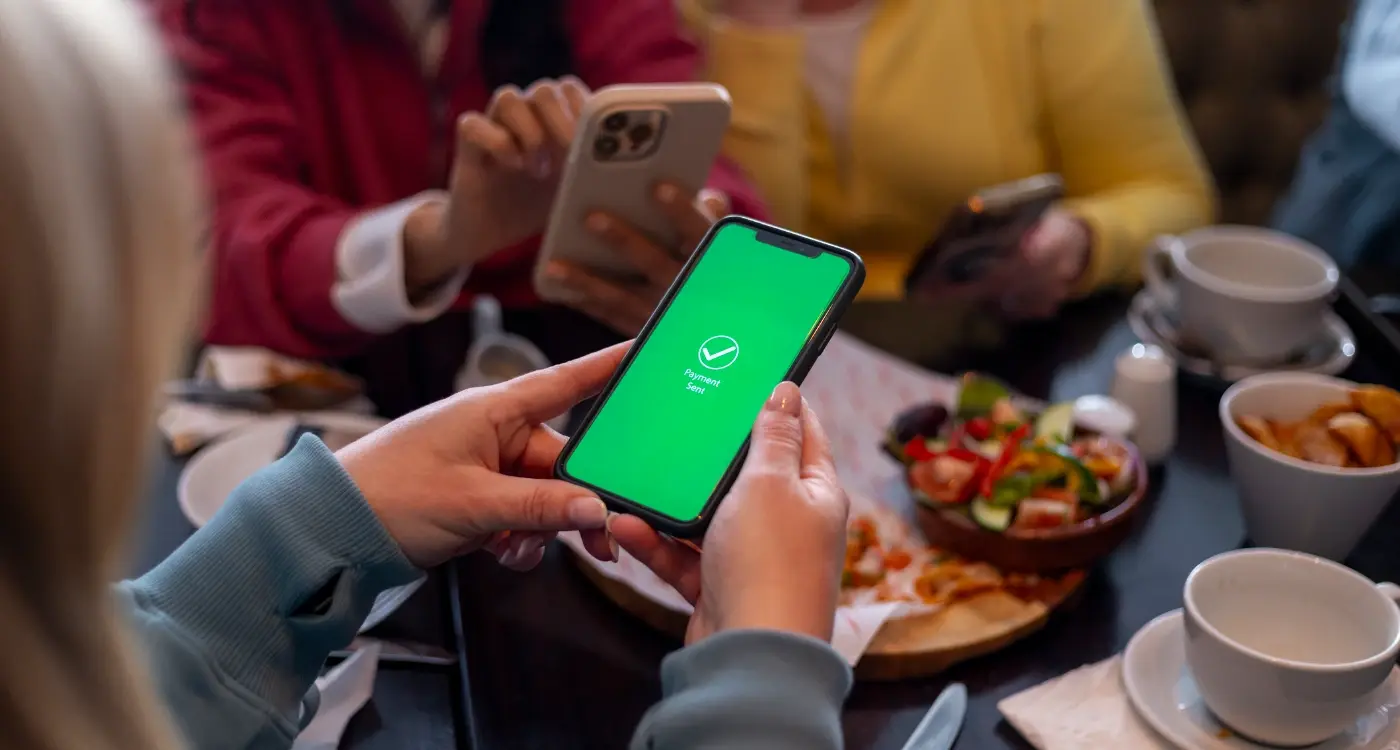
A photography app launches with all the bells and whistles—beautiful filters, social sharing, cloud storage. Everything looks perfect until users start complaining. The problem? The app's interface uses red and green colour coding that people with colour blindness can't distinguish. What seemed like a minor design choice becomes a major barrier for millions of users. This same principle applies when we're talking about food allergies and dietary requirements in mobile apps.
Building an app that handles food allergies properly isn't just about being nice to users (though that's important too). It's about creating something that actually works for everyone who downloads it. When someone with a severe nut allergy opens your restaurant app, they need to trust that your filtering system won't accidentally show them something dangerous. That's a big responsibility.
The difference between good accessibility and great accessibility often comes down to the details most people never think about.
Food allergies affect millions of people worldwide, and dietary requirements are becoming more common every year. Whether someone's avoiding gluten, following a vegan lifestyle, or managing multiple allergies at once, your app needs to handle their needs without making them jump through hoops. The good news? Building these features doesn't have to be complicated or expensive—it just needs to be done thoughtfully from the start. Throughout this guide, we'll walk through the practical steps to make your app work for everyone, not just the majority of users.
Understanding Food Allergies and Dietary Requirements
Food allergies aren't just about people being fussy with their meals—they can be genuinely life-threatening. When someone with a severe nut allergy accidentally eats something with traces of peanuts, they might need an ambulance within minutes. That's why getting this right in your app isn't just good design; it's about keeping people safe.
There are eight major allergens that cause about 90% of all food allergic reactions. These include milk, eggs, peanuts, tree nuts, soy, wheat, fish, and shellfish. But here's where it gets tricky—dietary requirements go way beyond allergies. You've got vegetarians, vegans, people following halal or kosher diets, those avoiding gluten due to coeliac disease, and countless others with specific needs.
The Difference Between Allergies and Intolerances
This distinction matters more than you might think. Food allergies trigger an immune system response that can cause anything from mild discomfort to anaphylactic shock. Food intolerances, like lactose intolerance, are usually less severe but still uncomfortable. Your app needs to handle both seriously—nobody wants to spend their evening feeling awful because your filtering system missed something.
Common Dietary Requirements to Consider
- Major allergens (the big eight mentioned above)
- Religious dietary laws (halal, kosher, Hindu vegetarian)
- Lifestyle choices (vegan, vegetarian, pescatarian)
- Medical conditions (coeliac disease, diabetes)
- Temporary restrictions (pregnancy, medical treatments)
The challenge isn't just identifying these requirements—it's understanding that many people have multiple restrictions. Someone might be vegan and gluten-free, or kosher and allergic to shellfish. Your app architecture needs to handle these overlapping needs without making the user experience complicated.
Planning Your App's Allergy Features
Right, let's talk about the meat and potatoes of handling food allergies in your app. You can't just bolt on allergy features as an afterthought—trust me, I've seen that approach fail spectacularly. The planning stage is where you'll make or break your app's ability to keep people safe whilst actually being useful.
Start by deciding which allergies and dietary requirements you'll support. Don't try to cover every single possibility from day one; you'll end up with a confusing mess. When deciding what features to include in your app MVP, focus on the big players first:
- The major allergens (nuts, dairy, eggs, gluten, shellfish)
- Common dietary choices (vegetarian, vegan, halal, kosher)
- Popular health-related diets (low-sodium, diabetic-friendly)
Now here's where things get interesting—you need to think about how detailed your system will be. Will you just flag "contains nuts" or will you differentiate between almonds, peanuts, and tree nuts? The more granular you go, the more useful your app becomes, but the complexity shoots up too.
Technical Planning Considerations
Your backend needs to handle allergy data consistently across all features. Whether someone's browsing recipes, ordering food, or saving favourites, their allergy profile should work seamlessly everywhere. Plan for multiple allergy selections per user—most people have more than one dietary requirement.
Start with 8-10 common allergies and dietary requirements, then expand based on user feedback. This keeps your initial development manageable whilst giving you room to grow.
Think about your data sources too. If you're pulling nutritional information from third parties, make sure they provide reliable allergy data. When choosing between SQL and NoSQL databases for mobile apps, consider how you'll need to query and filter complex allergy data. Nothing kills trust faster than incorrect allergen information.
Creating User-Friendly Allergy Profiles
Getting users to fill out their allergy information is one thing—making it simple and stress-free is another entirely. I've watched too many apps fail at this stage because they overcomplicated what should be a straightforward process. The secret lies in building profiles that feel natural to complete and easy to manage over time.
Keep Setup Simple and Quick
When someone downloads your app, they want to start using it straight away, not spend twenty minutes ticking boxes. Start with the most common allergies and dietary requirements first—things like nuts, dairy, gluten, and vegetarian options. You can always let users add more specific details later through their profile settings.
Use clear, everyday language rather than medical terms. Instead of "anaphylactic reaction to Arachis hypogaea," just say "severe peanut allergy." People know what affects them; they just need to find it quickly in your interface. Visual icons help too—a milk carton for dairy allergies or a wheat symbol for gluten issues makes scanning much faster.
Allow for Different Severity Levels
Not all food restrictions are the same. Someone avoiding dairy for digestive comfort has very different needs from someone who could end up in hospital from cross-contamination. Build in severity levels so users can mark items as "avoid," "intolerant," or "life-threatening."
Make profiles easy to update as well. People's dietary needs change—they might develop new intolerances or their children might outgrow certain allergies. A good profile system grows with your users rather than trapping them in outdated information that could become dangerous over time.
Building Recipe and Menu Filtering Systems
Right, now we're getting to the meat and potatoes of your app—the filtering system. This is where everything comes together; where all those user profiles and dietary requirements actually do something useful. Your filtering system needs to be smart enough to hide anything that could harm your users, but simple enough that they don't need a PhD to operate it.
The trick is building filters that work in layers. Start with the obvious stuff: if someone's allergic to nuts, don't show them recipes with almonds, walnuts, or that sneaky pine nut hiding in the pesto. But here's where it gets interesting—you need to think about cross-contamination too. Some people with severe food allergies can't risk products that were "made in a facility that also processes nuts" so your database needs to capture this information.
Making Filters That Actually Work
Your filtering logic should be bulletproof. When someone selects "dairy-free" they shouldn't see recipes with milk, butter, cheese, or whey protein. Sounds simple, but you'd be amazed how many apps get this wrong. Build your ingredient database with synonyms and alternative names—because "casein" is still dairy, even if your users don't recognise the term.
The best filtering systems are the ones users don't have to think about—they just work, silently protecting people in the background
Speed matters too. Nobody wants to wait five seconds every time they apply a filter. Cache your results, optimise your queries, and consider letting users save their most-used filter combinations. The goal is making your app feel responsive and reliable, because when it comes to food allergies and dietary requirements, trust is everything.
Designing Clear Warning Systems and Labels
When it comes to food allergies, there's no room for confusion—your warning systems need to be crystal clear and impossible to miss. I've worked on food apps where poor warning design nearly caused serious problems, and trust me, you don't want to be in that position. The stakes are genuinely high here.
Your warning labels should jump out at users before they even think about ordering or preparing something. Use bold, contrasting colours that stand out from your main design; red and orange work well because people naturally associate them with danger. Keep your text simple and direct—"Contains Nuts" or "May Contain Dairy" rather than lengthy explanations that users might skip over.
Making Warnings Unmissable
Position your allergy warnings at the top of recipe cards or menu items, not buried at the bottom where they might get overlooked. Consider using icons alongside text—a peanut symbol next to "Contains Nuts" helps users scan quickly. Size matters too; make these warnings larger than your regular text.
Don't just rely on colour alone though—some users might have visual impairments or colour blindness. Use shapes, borders, and clear typography to make warnings accessible to everyone. A red warning box with bold text works better than just red text on its own.
Getting the Language Right
Keep your warning language consistent throughout the app. If you use "Contains" for definite allergens, stick with that wording everywhere rather than mixing in "Includes" or "Has" sometimes. This consistency helps users recognise warnings instantly. Test your warnings with real people—what seems obvious to you might not be clear to someone scanning quickly through their lunch options whilst hungry and in a hurry.
Making Your App Accessible for All Users
When you're building an app that handles food allergies and dietary requirements, accessibility isn't just a nice-to-have feature—it's absolutely necessary. People with visual impairments, motor difficulties, or cognitive challenges need to navigate your app just as easily as anyone else, and honestly, their lives might depend on getting the right information quickly.
The good news is that most accessibility features actually make your app better for everyone. Large, clear text helps people read allergy warnings in bright sunlight; voice commands let busy parents check ingredients whilst cooking; high contrast colours make emergency alerts stand out when someone's stressed about a potential allergic reaction.
Screen Reader Compatibility
Screen readers are software tools that read out what's on the screen for people who can't see it properly. Your app needs to work perfectly with these tools, which means adding proper labels to every button, image, and piece of text. When someone's scanning a restaurant menu for allergens, they need to hear exactly what each dish contains—not just "button" or "image".
Test your app with VoiceOver on iOS or TalkBack on Android whilst your eyes are closed. If you can't complete basic tasks like setting up allergy filters or reading ingredient lists, neither can your users.
Simple Navigation and Clear Language
Keep your navigation simple and predictable. People shouldn't have to hunt around for the allergy settings or struggle with complicated menus when they're trying to check if something's safe to eat. Use plain English instead of technical jargon—"Contains nuts" is much clearer than "May contain traces of tree-derived allergens".
- Make buttons at least 44 pixels tall so they're easy to tap
- Use high contrast colours for important warnings
- Add voice control options for hands-free use
- Include text-to-speech for ingredient lists
- Provide adjustable text sizes for better readability
Testing Your Allergy Features with Real Users
Once you've built your allergy features, you might think the hard work is done—but that's where you'd be wrong. Real user testing is where you'll discover if your app actually works in the real world or if it's just another pretty interface that misses the mark.
Start by recruiting people who genuinely have food allergies or dietary requirements. These aren't your typical beta testers; they're people whose health depends on getting accurate information. Watch them use your app without giving them instructions—this reveals how intuitive your design really is.
Key Testing Scenarios
Focus your testing on the most critical moments when users interact with your allergy features:
- Setting up their allergy profile for the first time
- Searching for safe food options when they're hungry
- Understanding warning messages and alerts
- Filtering results based on their dietary needs
- Spotting allergen information quickly whilst shopping
Pay close attention to how quickly users can complete these tasks. Someone with a severe nut allergy shouldn't have to spend five minutes figuring out if a product is safe—they need that information immediately.
What to Look For
During testing sessions, note where users hesitate, get confused, or miss important information. If someone skips over a warning message, that's a design problem, not a user problem. Look for moments when users seem uncertain about whether something is safe for them to eat.
The feedback you get from real users will be invaluable. They'll tell you about edge cases you never considered and highlight problems that seemed obvious once pointed out. This testing phase often reveals the difference between an app that looks good and one that actually keeps people safe.
Conclusion
Building an app that properly handles food allergies and dietary requirements isn't just about ticking boxes—it's about creating something that genuinely helps people stay safe whilst enjoying their food. I've worked on enough food apps to know that getting this right makes all the difference between an app people trust and one they delete after a bad experience.
The key things we've covered—user-friendly allergy profiles, robust filtering systems, clear warning labels, and proper accessibility features—these aren't optional extras. They're the foundation of any food app worth building. When someone with a severe nut allergy opens your app, they need to feel confident that your filtering system won't let them down. That's a big responsibility, but it's one that comes with building in this space.
Testing with real users is where you'll discover if your well-intentioned features actually work in practice. I can't stress this enough: what seems obvious to developers often isn't obvious to users, especially when they're managing complex dietary needs. The feedback you get from people with actual food allergies will be invaluable—and probably quite different from what you expected.
Making your app accessible means thinking beyond the obvious; voice commands for users with visual impairments, clear contrast for warning messages, and simple navigation that works when someone's in a hurry. Food apps often get used in restaurants or shops where people are distracted, so simplicity wins every time.
Get these fundamentals right, and you'll have built something that doesn't just serve food—it serves people safely.