Have you ever wondered how many people might struggle to use your mobile app because of accessibility barriers? After working in mobile app development for over eight years, I can tell you that this question keeps far too many developers and business owners scratching their heads long after their app has launched.
The truth is, roughly one in five people live with some form of disability—that's a massive chunk of your potential user base. Yet most apps are built without proper accessibility testing, which means they're unknowingly shutting out millions of users. Not great for business, and certainly not great for those users who just want to get things done on their phones like everyone else.
Compliance testing for mobile apps isn't just about ticking legal boxes (though that's important too). It's about making sure your app works for everyone, regardless of whether they're using screen readers, voice control, or need larger text to see properly. The good news? Testing your app for accessibility compliance doesn't have to be overwhelming or expensive.
Accessibility is not a feature you add at the end—it's a mindset you adopt from the beginning
Throughout this guide, we'll walk through everything you need to know about testing your mobile app for accessibility compliance. From understanding the requirements and setting up your testing environment, to using automated tools and working with real users who have disabilities. By the time you're finished reading, you'll have a clear roadmap for making your app accessible to everyone—and keeping it that way.
Understanding App Accessibility Requirements
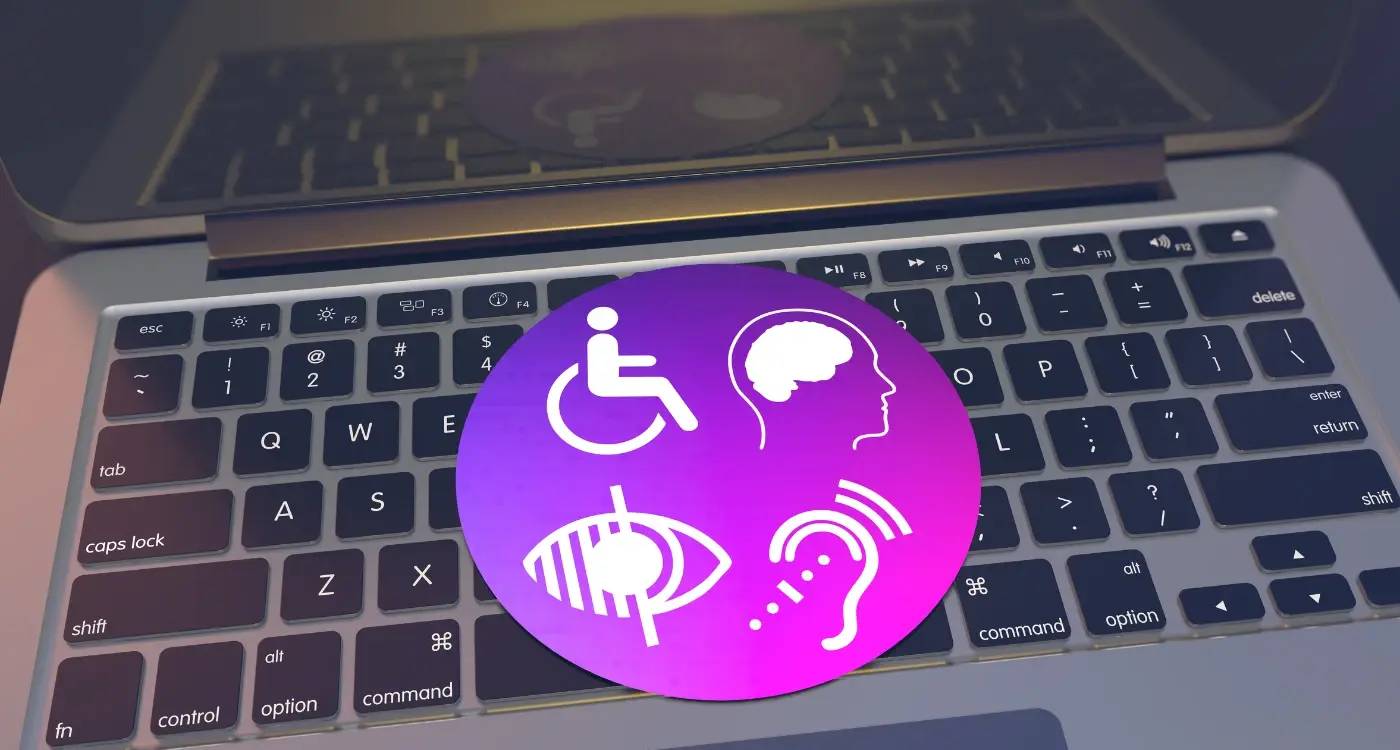
Right, let's get straight to the point—accessibility isn't just a nice-to-have feature anymore. It's a legal requirement in many places and affects roughly 15% of the world's population who live with some form of disability. That's over a billion people who might struggle to use your app if you haven't designed it properly.
The main guidelines you need to know about are the Web Content Accessibility Guidelines (WCAG). These aren't just for websites; they apply to mobile apps too. WCAG has three levels of compliance: A, AA, and AAA—with AA being the standard most organisations aim for and what's legally required in many countries.
The Four Core Principles
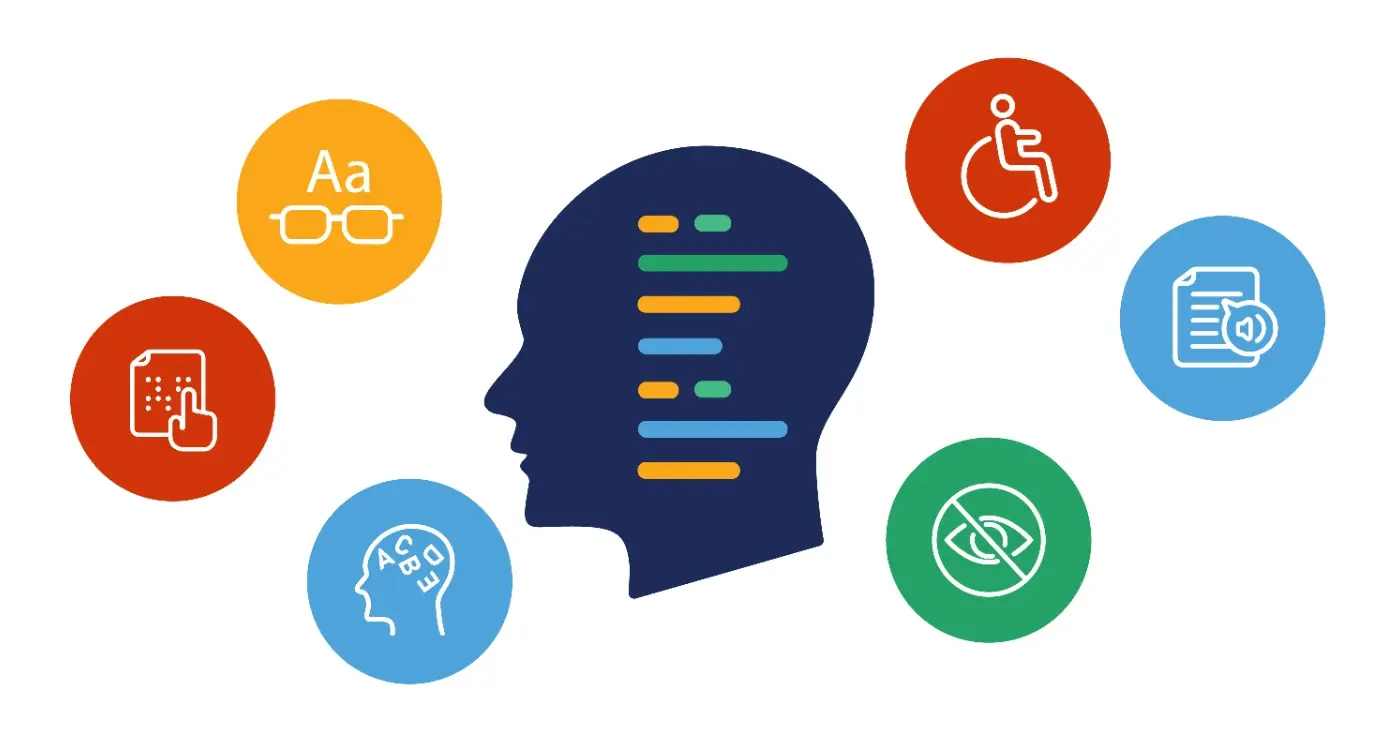
WCAG is built around four principles that are pretty straightforward when you break them down. Your app needs to be perceivable (users can see or hear the content), operable (users can navigate and interact with it), understandable (the content makes sense), and robust (it works with different technologies like screen readers).
Legal Requirements You Should Know About
Different countries have different laws, but here are the big ones to watch out for:
- Americans with Disabilities Act (ADA) in the United States
- Equality Act 2010 in the United Kingdom
- European Accessibility Act across EU countries
- Disability Discrimination Act in Australia
- Accessible Canada Act for federal organisations
The thing is, these laws aren't always crystal clear about mobile apps—they're still catching up with technology. But courts are increasingly ruling that apps need to be accessible, so it's better to be safe than sorry. Plus, making your app accessible isn't just about avoiding lawsuits; it makes your app better for everyone and opens up your potential user base significantly.
Setting Up Your Testing Environment
Right, let's get your testing environment sorted—this is where the real work begins, and honestly, it's not as complicated as you might think. The key is having the right tools at your fingertips and knowing how to use them properly. You'll need a mix of real devices, testing software, and screen readers to properly test your mobile app for compliance testing.
Start with the basics: grab at least one iOS device and one Android device. I know it's tempting to rely solely on simulators, but they just don't cut it when you're testing accessibility features. Real devices behave differently, and that's what your users will actually be using. Make sure you've got TalkBack enabled on Android and VoiceOver switched on for iOS—these are your bread and butter screen readers.
Testing Tools You'll Need
Your toolkit should include both automated and manual testing options. Here's what I recommend having ready:
- Accessibility Scanner for Android devices
- Xcode Accessibility Inspector for iOS testing
- Colour contrast analysers (there are plenty of free web-based ones)
- Voice control software for hands-free navigation testing
- Switch control settings for motor impairment testing
Set up a dedicated testing space where you won't be interrupted. Accessibility testing requires concentration, and you'll miss important issues if you're constantly distracted by notifications or colleagues.
Creating Test User Profiles
Before you start testing, create different user profiles that represent various accessibility needs. Think about users with visual impairments, hearing difficulties, motor challenges, and cognitive differences. Each profile should have specific settings enabled—like larger text sizes, high contrast modes, or reduced motion preferences. This approach helps you test systematically rather than randomly poking around your mobile app hoping to find problems.
Manual Testing Methods for Accessibility
Manual testing is where you roll up your sleeves and actually interact with your app the same way users with disabilities would. It's hands-on work that gives you insights automated tools simply can't match—and frankly, it's one of the most revealing ways to spot accessibility problems.
The beauty of manual testing is that you experience your app from a completely different perspective. When you navigate using only a keyboard or rely on a screen reader, you quickly discover whether your app truly works for everyone or just looks like it does.
Screen Reader Testing
Start by testing with screen readers like VoiceOver on iOS or TalkBack on Android. Turn off your display and navigate your app using only audio feedback. You'll be surprised how many buttons are labelled "button" instead of something useful, or how often important content gets skipped entirely. Listen to how your app flows—does it make sense when you can't see the visual layout?
Keyboard and Switch Navigation
Next, test keyboard navigation by connecting an external keyboard to your device or using switch controls. Can you reach every interactive element? Does the focus indicator clearly show where you are? Many developers forget that not everyone can tap directly on screen elements.
- Test all interactive elements can be reached without a mouse or direct touch
- Check focus indicators are visible and logical
- Verify you can activate buttons and links using keyboard shortcuts
- Test forms can be completed entirely with keyboard navigation
- Make sure users can escape from modal dialogs and pop-ups
The real value in manual testing comes from putting yourself in your users' shoes—quite literally experiencing how they would interact with your app.
Automated Testing Tools and Techniques
After years of working on mobile app projects, I can tell you that automated testing is where things get really efficient. Manual testing is brilliant for catching nuanced issues, but when you're dealing with compliance testing across multiple devices and screen sizes, automation becomes your best mate. The good news is that there are some solid tools out there that can help you identify accessibility problems without having to click through every single screen manually.
For iOS apps, Xcode's built-in Accessibility Inspector is a proper game-changer—it can scan your app automatically and flag issues like missing labels, poor colour contrast, and elements that aren't properly accessible to screen readers. Android developers have similar luck with the Accessibility Scanner, which Google provides for free and integrates nicely with your testing workflow.
Third-Party Solutions Worth Considering
Tools like Appium and Espresso can be configured to run accessibility checks as part of your regular testing suite. These aren't just one-off scans; they can be integrated into your continuous integration pipeline so that accessibility issues get caught before they make it to production. The beauty of this approach is that it turns compliance testing into something that happens automatically rather than being an afterthought.
Automated testing catches about 70% of accessibility issues, but that remaining 30% still needs human eyes and real user feedback to identify properly.
The key thing to remember is that automated tools are brilliant at catching technical violations—missing alt text, insufficient colour contrast ratios, improper heading structures. But they can't tell you if your mobile app actually makes sense to someone using assistive technology, which is why combining automated and manual approaches gives you the most comprehensive coverage for your compliance testing efforts.
Testing with Real Users Who Have Disabilities
Testing your app with automated tools and manual checks is brilliant, but nothing beats getting feedback from people who actually live with disabilities every day. Real user testing gives you insights that no automated tool can provide—it shows you how your app really performs in the hands of the people who need accessibility features most.
Finding participants can seem tricky at first, but there are several ways to connect with users. Disability organisations, online communities, and accessibility advocacy groups are often willing to help with research projects. Many universities have accessibility research programmes too. When reaching out, be clear about what you're testing, how long it will take, and offer fair compensation for people's time.
Setting Up Your User Testing Sessions
Keep your testing sessions relaxed and flexible. Some participants might use screen readers, voice control software, or other assistive technologies that work differently than you expect. Give people time to get comfortable with your app—don't rush them through tasks. Ask open-ended questions about their experience rather than yes/no questions.
What to Focus On During Testing
Watch how people navigate your app and listen to their feedback about confusing elements. Pay attention to these key areas:
- How easily can they find and use main features
- Are button labels and instructions clear
- Do error messages make sense
- Can they complete common tasks without getting stuck
- How well does the app work with their assistive technology
Remember that every person's needs are different, even within the same disability group. Someone who's been blind since birth might use their phone very differently than someone who lost their sight later in life. The goal isn't to fix every single issue immediately, but to understand the biggest barriers and prioritise improvements that will help the most people.
Common Accessibility Issues and How to Fix Them
After years of testing mobile apps for accessibility compliance, I've noticed the same problems cropping up again and again. The good news? Most of these issues are surprisingly straightforward to fix once you know what to look for.
Missing or poor alternative text for images is probably the biggest culprit I encounter. Screen readers can't interpret images, so they rely on alt text to describe what's happening. If your app has a shopping basket icon, don't just label it "icon"—make it "shopping basket" or "view cart". The same goes for decorative images; mark them as decorative so screen readers skip over them entirely.
The Big Four Issues
Here are the most common problems that'll trip up your compliance testing:
- Colour contrast that's too low (text becomes unreadable)
- Touch targets that are too small (buttons under 44x44 pixels)
- Missing focus indicators (users can't see where they are when navigating)
- Form fields without proper labels (screen readers can't identify what information is needed)
Test your app in greyscale mode to quickly spot colour contrast problems—if you can't read the text clearly, neither can users with visual impairments.
Quick Fixes That Make a Big Difference
The beauty of accessibility fixes is that they often improve the experience for everyone. Making your buttons bigger helps users with motor difficulties, but it also makes your app easier to use on smaller screens. Adding proper headings helps screen reader users navigate, but it also makes your content more scannable for everyone else. Most of these changes take minutes to implement but can transform how accessible your mobile app becomes.
Creating an Ongoing Accessibility Testing Process
Building accessibility testing into your development workflow isn't a one-time thing—it needs to become part of your regular routine. I've worked with teams who thought they could test once and forget about it, but that approach always backfires when new features break existing accessibility support.
The key is making accessibility checks automatic wherever possible. Set up your automated testing tools to run with every code commit; this catches basic issues before they reach your users. But don't rely solely on automation—manual testing should happen at regular intervals too.
Setting Up Your Testing Schedule
Create a testing rhythm that works for your team size and release cycle. Here's what I recommend:
- Run automated tests with every code push
- Conduct manual testing during each sprint review
- Schedule user testing sessions quarterly
- Perform full accessibility audits before major releases
- Review and update your testing checklist monthly
Document everything you find—and I mean everything. Keep a shared spreadsheet or use your project management tool to track issues, their severity, and resolution status. This creates accountability and helps you spot patterns in the problems you're discovering.
Building Team Awareness
Get your whole team involved, not just the testers. Developers should understand common accessibility pitfalls; designers need to know about colour contrast and focus indicators. When everyone takes ownership, you catch problems earlier in the process.
Review your testing process regularly too. What's working? What's being skipped? Are you finding the same types of issues repeatedly? Use these insights to refine your approach and prevent problems before they happen. The goal is making accessibility testing feel natural, not like an extra burden on your development timeline.
Conclusion
Testing your mobile app for accessibility isn't just about ticking boxes—it's about making sure everyone can use what you've built. Throughout this guide, we've covered the practical steps that will help you create apps that work for people with different abilities and needs.
The truth is, accessibility testing doesn't have to be overwhelming. Start with the automated tools to catch the obvious problems, then move on to manual testing to find the issues that machines miss. But here's what I've learned over the years: the real magic happens when you test with actual users who have disabilities. They'll show you things you never would have thought of.
Don't try to fix everything at once—that's a recipe for frustration. Pick the biggest problems first, usually the ones that completely block people from using your app. Then work your way through the smaller issues. Your compliance testing process will get smoother each time you do it.
Building accessibility into your regular development cycle saves time and money in the long run. When you catch problems early, they're much easier to fix than when you discover them right before launch. Set up your testing environment once, create a checklist of common issues, and stick to the process.
The mobile app world is constantly changing, but the need for accessible apps isn't going anywhere. By following the methods in this guide, you're not just meeting legal requirements—you're building better apps for everyone.